Bewitchingbee's
Palmistry Lesson 2
HOW TO GET A
GOOD PRINT
Messy? Yes. Fun? Oh yeah. I've been at
parties where I've ended up printing a dozen or more people. Prints just look cool. Most
of us like to keep a copy. A little time and practice is all it takes to get some fabulous
prints. If all else fails- there's always the copy machine, but you can't beat a nice ink
print for detail.
EQUIPMENT NEEDED:
1) Water soluble printing ink.
It will wash off your hands! ( I use a
brand called Speed Ball.) It comes in a variety of
colors. My favorite colors to do a print are either traditional black, or navy blue.
2) Sheet of glass, sheet of laminated plastic, or a plastic container. (Something to
squirt the ink onto.)
3) Pen or pencil
4) A four inch Printer's Roller
5) Blank sheets of paper (many needed, especially at first)
Ready? Push up those sleeves and let's go.
Making a Print
1) In the top corner write your name and the date. Draw an outline of your hand.
Keep pen as close to the hand as possible, and try to include approximately 1 to 1˝
inches or 3+ cm
of the wrist.
2) Squeeze a little ink onto the surface you are using. Make sure you use
water soluble ink. This will wash off with soap and water.
3) Using your printer's roller, begin to roll the ink out evenly across the
surface until you have a very thin layer. (Usually the thinner the better -
you' ll get a better sense after you do it a few times- excess ink will obscure
the lines in your palm.)
4) Roll the inked roller over the hand, starting at the wrist and moving upward
toward the finger-tips. (Make sure you get the palmar edges, and don't forget to touch-up
any
bald spots.)
5) Relax your hand, make sure you are comfortable, try to line your hand up with
the outline. (If you forget to make the outline, you can always trace your hand after the
print dries.)
6) Press your hand down, gently but firmly, starting with the bottom of your palm near the
wrist and press onward, rolling up toward the fingertips. As your hand rolls to press with
the upper portion and fingers
simultaneously lift up the palm at bottom, rolling through. Frequently the contour in the
middle of the palm isn't completely touching the paper - take extra care to press through
this area onto the paper. Keep trying. On a successful print, all of the lines of your
hand should be visible. Print both hands.
To make sure that all areas of the palm
contact the surface of the paper, some people will use a rolling pin, or a cushion beneath
the paper to roll their hand as they press down. (I kind of like the rolling pin method.)
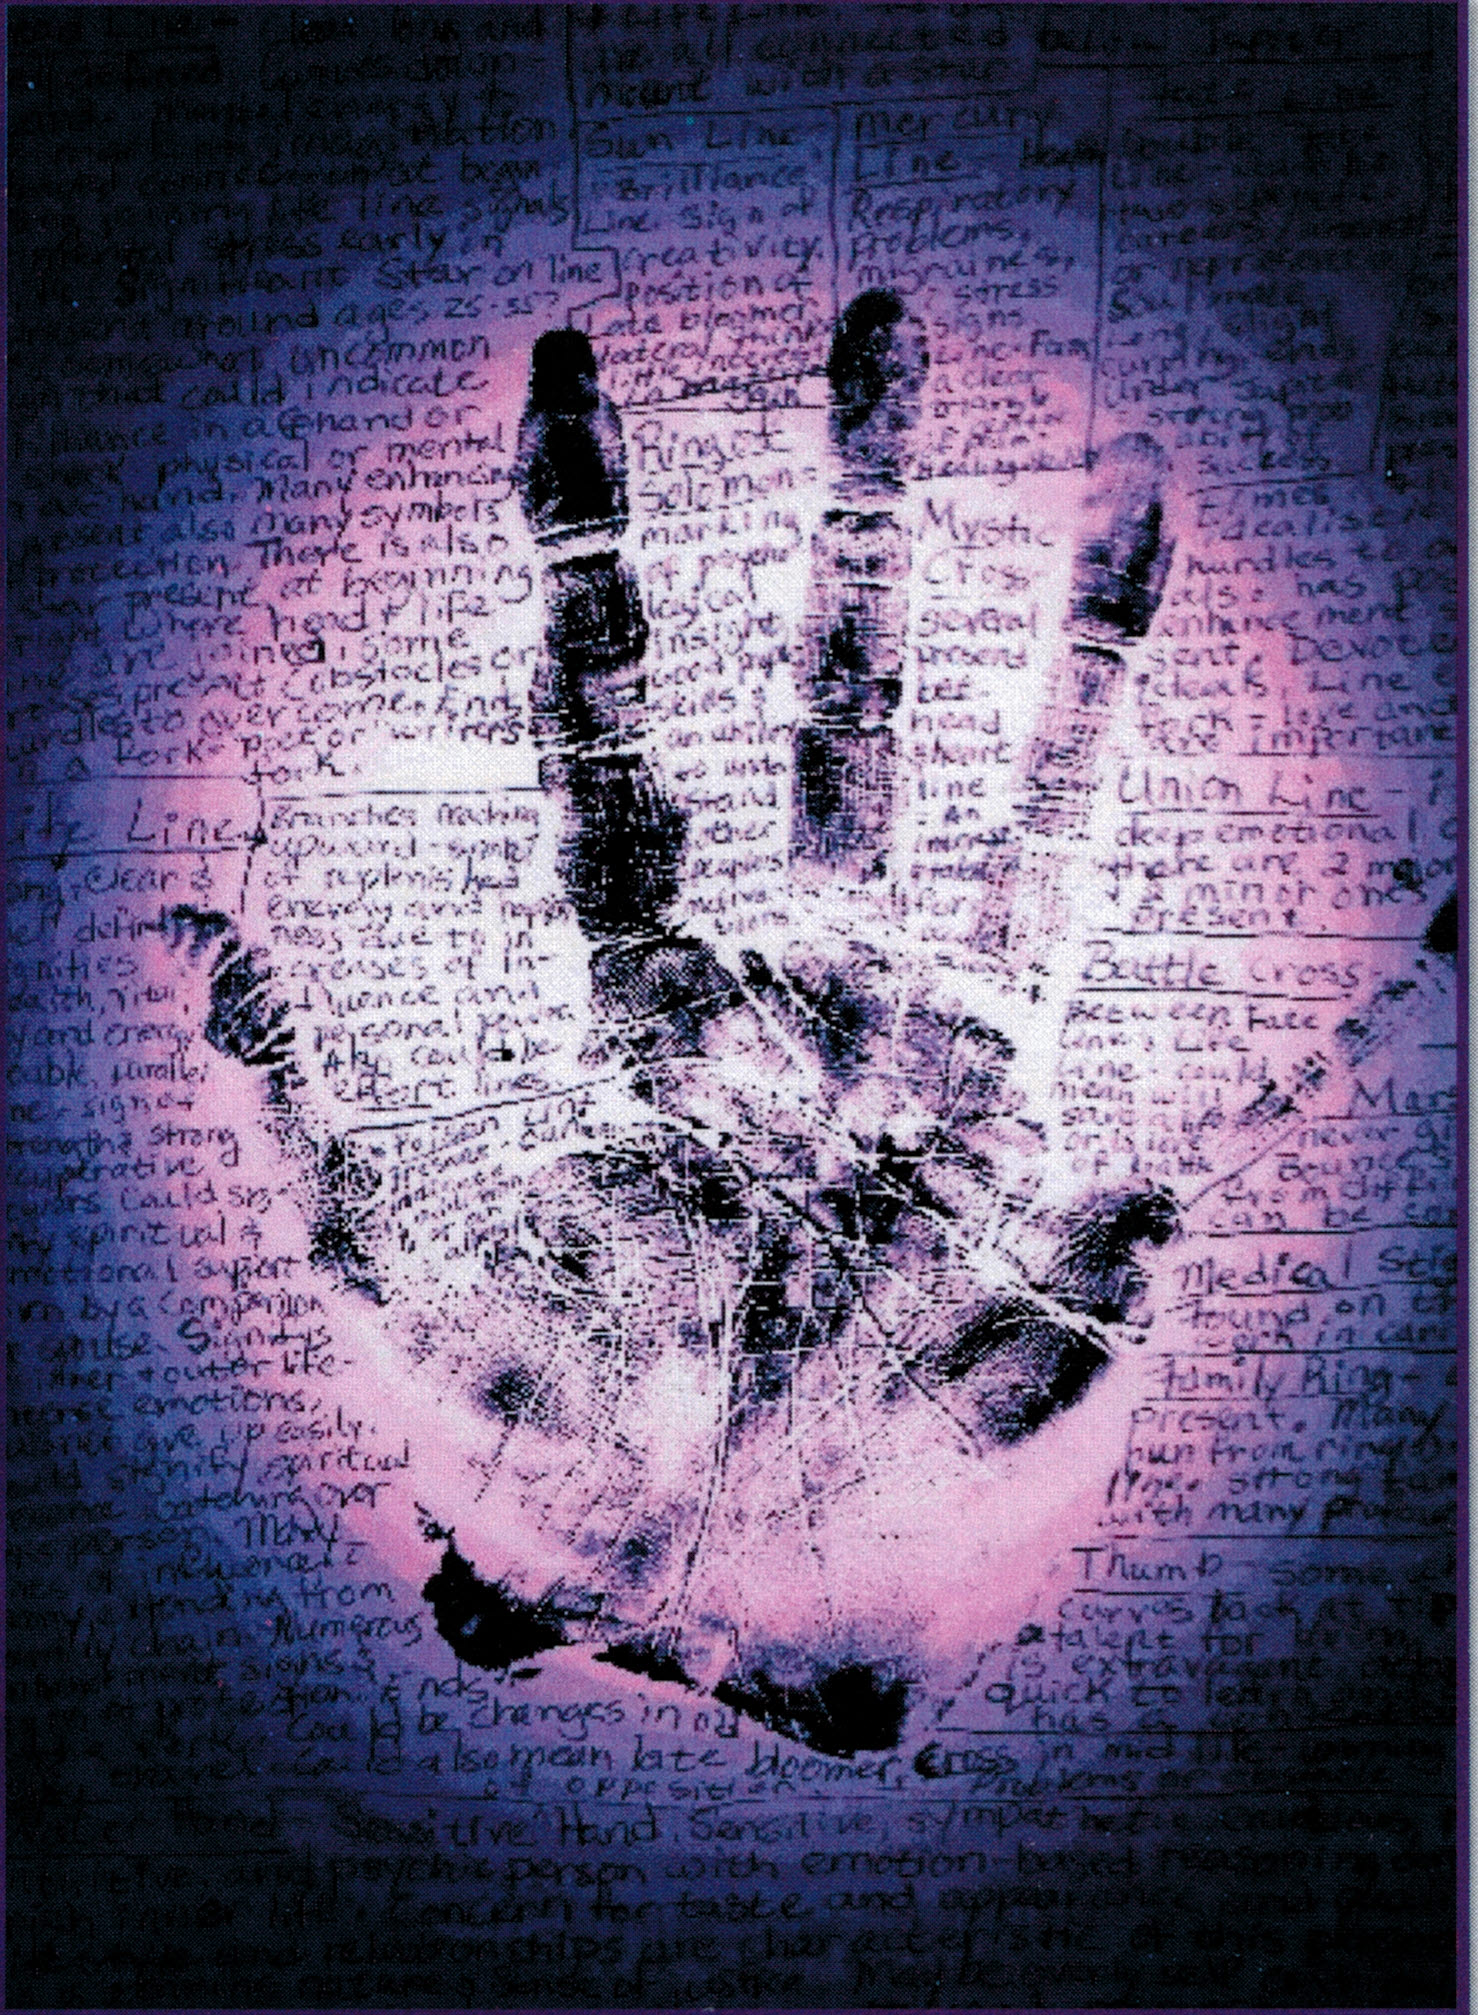
Homework:
Make a print of your
own hand. You may have to do this a number of times to get a good print but it's
worth it. Then using your reference resources, start mapping out the sections,
lines, ridges of your hand!